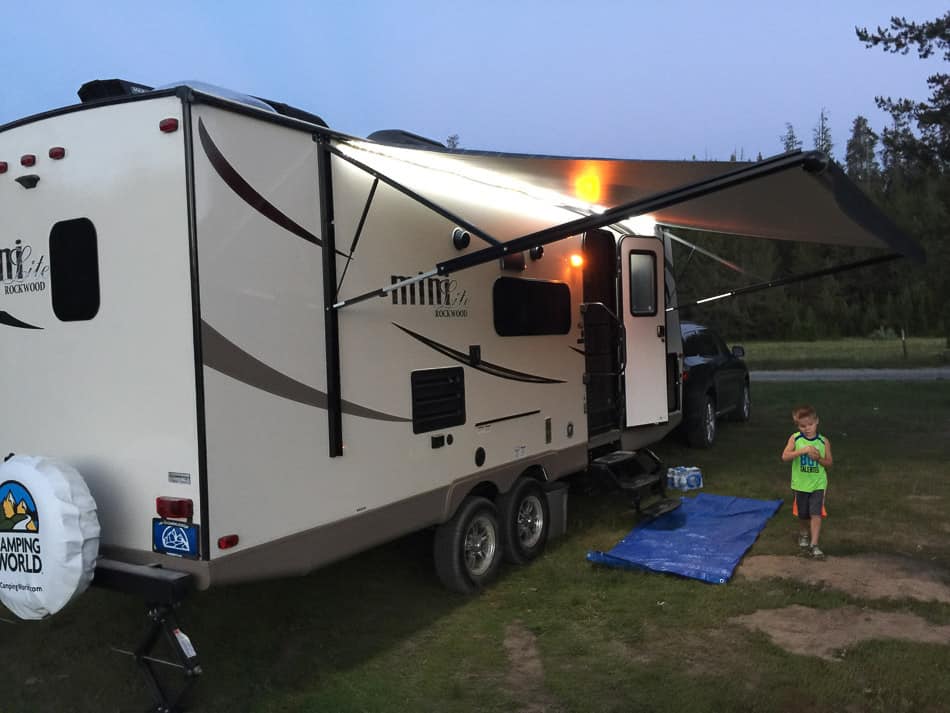
 It’s a beautiful day to be driving your camper. The sun is shining, the birds are chirping, and you can feel the warmth coming in from your driver’s side window.
Why not stop and take a break, maybe make camp for a couple of hours?
You pull off to a scenic overlook surrounded by trees. You’re all alone with nature (and your passengers). You get out, stretch your legs, and start setting up your camper.
Then, as you pull out your overhead awning, you see it. The awning has a big, fat tear right on the edge.
Oh no, you think. How did this happen? You’re always careful with all parts of your camper. You can’t remember anyone misusing the awning, yet there is that huge tear nonetheless.
What do you do in such a situation? Is it time to contact the camper manufacturer and ask about getting a new awning sent to you? Should you just pull the awning off, throw it away, and forget about having shade from the sun?
The solution is nothing so dramatic. It turns out, with a bit of handiwork, you can repair most awning damage yourself. Here’s how.
Know What Causes Camper Awning Tears
First, before you get out your supplies, let’s answer your first big question: how and why did the awning rip in the first place?
As it turns out, all sorts of things can be the culprit. Here’s a brief list of the factors that can lead to a torn awning:
- Poor craftsmanship of the awning, which can happen if you buy a cheaper camper.
- Excess strings and loose threads on the awning that just gave way, leading to a rip.
- Age and general wear and tear.
- Rocks, stones, sticks, and other sharp-edged debris.
- Wind, thunderstorms, snowstorms, hailstorms, and other serious weather conditions.
According to the Family Motor Home Coach Association, Inc., most awnings are either made of vinyl or acrylic. Vinyl awnings are more likely to gather dust and dirt but less likely to gather mildew. Acrylic awnings can handle more water since their fabric weaving means they dry faster. They may be more susceptible to mildew, though.
The Types of Damage
Depending on what caused the damage, your awning may look better or worse for wear. You may have small, minor tears or bigger rips right through the fabric. Here are the basic types of awning damage.
Small Holes
These holes may sometimes be so small you don’t even see them. You’ll first notice something is wrong with your awning when you feel raindrops on your head while sitting beneath it.
As you can imagine, with continued use, those small holes will eventually grow, becoming more problematic with time.
Small Tears
Small tears are those that measure three feet or less. These are more visible, unlike small holes, yet manageable. If you catch these and patch them up quickly, the tears shouldn’t become any bigger.
Large Holes
Large holes are sometimes also gouges, and may be caused by something poking through the awning, extreme weather conditions, or even by ignoring small holes. These holes make the awning practically unusable, as the sunlight will peer through the hole and rain can easily get through as well.
Large Tears
A large tear is any damage that exceeds a length of three feet. If you ignore a small tear and camp in windy conditions or on a stormy day, your awning could rip more, leading to these undesirable larger tears. These are often much more difficult to conceal with reparations, as are large holes.
Repair Steps
What You’ll Need
You don’t need much to repair an RV awning, making this the perfect DIY project. I’ve already written a post about troubleshooting a broken camper refrigerator, but this isn’t nearly as involved of a project.
Make sure you have:
- Replacement awning material
- A screwdriver
- A tape measurer
- Sewing supplies
- Awning repair tape
- Water-based cleaning solution
- Water-resistant RV glue
- Fabric scissors
Step #1: Assess the Damage
How big is your hole or tear? This is what you must determine first before you start repairs. Knowing this will dictate how you’ll go about fixing the awning.
If it’s a smaller hole or tear, your repair method will be fast and simple. If you have a big ‘ol rip, though, you’re going to need more time and supplies.
Step #2: Remove the Awning
You can’t fix the awning without taking it down off the camper, first. If you have never removed your awning before, you may be a little nervous about doing this. It’s easier than you think, though.
Awning installation may differ depending on the brand, but most of them have metal arms on either side. These arms allow the awning to secure to the camper via two travel locks.
You want to release these locks. You also want to access the awning tube’s cam locks. Again, there are at least two of these.
The cam locks can be turned to various positions. In this case, swap them from their current position into roll-down mode. You may have to use a lever to do this.
The awning will start to come down, but it won’t come tumbling off the camper to the ground. That said, be ready for its descent.
Now stretch out your awning to its full size. You should be able to see the cotter pin’s end caps at this point. These caps should have holes for the inner awning tube to fit through. By running the cotter pin through the tube on both ends, the awning tube releases its grip.
The end caps are spring-loaded, so do not try to take these out under ANY circumstances.
Lastly, you have to release the tag bolts. Your awning is now detached from the camper.
Now that you can see your awning up close and personal, take the time to investigate it. Remember, you’re looking for microscopic holes and tears in some instances, so you might have to feel around the awning as well as look at it.
Step #3: Fix Your Small Holes and Tears
Okay, so you took a thorough look at your awning and it appears you only have a small hole or tear. That’s great news for you!
Not only does this mean your awning is in pretty decent shape, but fixing these small holes and tears will be very easy.
This is where your repair tape, water-based cleaning solution, and water-resistant RV glue come in handy.
Here’s what you do.
- First, grab your water-based cleaning solution. Make sure this is not oil-based and non-abrasive. With this cleaner, wipe away all traces of mold, mildew, and dirt. Don’t forget to get the backside of the awning, as the tear or hole goes through both sides. Go slowly as you clean. You don’t want to pull on the hole or tear and increase it.
- Let the awning fully dry.
- Gently dab at the area with a washcloth or absorbent towel if not fully dried.
- Use a flat item for balancing purposes. Place this beneath your awning.
- Using your clear repair tape, adhere the two torn pieces of awning fabric together. The tape should keep these in place.
- Repeat on the other side.
- Remove air pockets and bubbles in the tape using your hand. This will keep the tape sticky for longer.
Step #4: Fix Any Bigger Holes and Tears
Hopefully, if you caught your awning damage early enough, you’ll have made the above basic repairs and that’ll be it. What if you didn’t see any small holes or tears though, and now they’re big and gaping?
You won’t be able to use the same repair methods outlined in Step #3. Instead, you’ll have to use the patching materials, your screwdriver, your tape measurer, and other sewing supplies.
If you’re not sure where to find patching materials, you can shop for them online. Some retailers offer whole awning repair kits that come with everything you need to fix bigger holes and tears. You can also contact the manufacturer and ask if they can send out extra awning material if you’re concerned about the material being a perfect match.
Your other concern may be that, by the time you’re done, your awning will look like a terrible patchwork quilt. It doesn’t have to, but you can’t rush the process. Find patching materials that are as close to the color of your awning as possible.
- Measure the exact width and height of the hole or tear.
- Now, add at least two inches to those numbers.
- Slice the patching material with a knife or fabric scissors. Be careful here. If you have too much patching material, it could look obvious when sown onto your awning. If you have too little, you won’t be able to fully cover the hole or tear.
- Either sew or use the same glue in Step #3 to adhere the patching material to the awning. You want to adhere this to the awning’s underside. This will hide any signs of the hole or tear ever being there unless someone sees the underside of the awning.
- Let the glue dry if that’s what you used.
- If you sewed the patching material to the awning, make sure there are no loose or obvious strings. Trim if there are.
Step #5: Put Your Awning Back on the Camper
Okay, so now your awning is all patched up. Whether you were dealing with the simpler repairs of a small hole or the complex fix of a larger tear, your awning is looking much better. Now it’s time to put it back up on the camper for future use.
To do so, follow the directions mentioned in Step #1, but in reverse. Roll up your awning. Find the tag bolts and use these as a guideline for where to reinstall your awning. Make sure the awning fits exactly so you’ll get optimal shade and weather protection.
Add the cotter pins back to the awning tube. Fit these so they’re inserted into the end caps on the cotter pins. Once again, do not take out the end caps for ANY reason. Turn the cam locks off roll-down mode. Roll the awning up via the lever. Relock the travel locks and the metal arms.
Awning Maintenance Tips
Now that your awning is in fantastic shape again, how can you keep it free of tears and holes in the future? Try following these handy awning maintenance tips:
- Your awning should always be fully dry before handling. Rolling or stretching the awning when wet can cause strain on the fabric. This can, in turn, lead to tears or holes.
- Keep the awning rolled up in the event of a severe storm, such as a hurricane, thunderstorm, or windstorm.
- Let water drain off one side of the awning. If this doesn’t happen naturally, adjust the awning’s angle to create a water runoff hill. If too much rainwater pools at the top of the awning, the material can again stretch and weaken.
- Check your awning every few months for signs of damage. Remember, it’s much easier, faster, and cheaper to fix a small hole or tear than it is to fix big holes or tears.
Conclusion
Whether made of vinyl or acrylic, you rely on your camper awning a lot. When you take breaks outside in the sun, you pull out this awning to protect you from bright, harsh sunlight. Maybe you’ve even taken refuge under the awning when a sudden rain occurred.
That said, your awning isn’t built to last forever. Environmental and weather damage can cause tears and holes in the fabric, some that are almost too small to see. If you don’t make a habit out of inspecting your awning, though, these tears and holes will grow.
Luckily, whether you’re dealing with a small hole or a big tear, you can fix these yourself. Small holes and tears are easily remedied with water-resistant RV glue. This glue should keep your awning intact for months and sometimes years to come.
If you have a bigger tear, you’ll have to sew or glue patching materials to the underside of the awning. This is more time-consuming, but it’s cheaper, faster, and easier than buying a new awning.
Make sure to care for your awning. With regular maintenance, you can avoid a lot of rips and tears that put a damper on your trip.
[author title=”About the Author” style=”font-family:lato;”]
RV Glue? What the bageebers is RV Glue?
My camper has a nice awning that was torn recently in a rather impressive bit of acrobatics from my youngest son, and I really appreciate your tips for fixing it up again. Your tip to keep the end caps in place will definitely save me a lot of trouble in the process of taking the fabric down for mending, and I may look for a service to help with the repair to make sure that I don’t accidentally take the wrong parts off. Cleaning the canopy before stitching it up will definitely help with the stretch, and I’ll definitely take your advice on that.
We use a clear repair patch kind of tape to fix our awnings called fixmytear repair tape. So much cheaper than paying a machinist to fix it. I’d say it’s best for years less than 1m. Apply it to both sides if you can for extra strength. The website is http://www.fixmytear.com.
We use a clear repair patch kind of tape to fix our awnings called fixmytear repair tape. So much cheaper than paying a machinist to fix it. I’d say it’s best for years less than 1m. Apply it to both sides if you can for extra strength. The website is http://www.fixmytear.com.
I like that you provided some basic maintenance tips for your awnings such as making sure it is completely dry before rolling and letting water drain off one side while rolled up during a storm or hurricane. It is important to keep your awnings dry before rolling to prevent any strains on the fabric which can eventually lead to further damage. You also may want to check them regularly and check for possible tears so these can be repaired immediately. Thanks.
Little birds poked holes in my awning to steal the threads for nest material so every turn of the awning (360degres) there is a hole progressively smaller for 4 rotations, little B——s.